Salesforce SOAP API: How to Create Records for Salesforce SObjects using SOAP API
Looking for Salesforce Training & HandsOn Projects?

In this article, we explore how we can create new records for Salesforce Standard & Custom SObjects using SOAP API Endpoints available for the Salesforce Platform.
Prepare Request Object: Case-I [MRU = True]
Step-1: We
will use the appropriate SOAP Endpoint in the format to prepare a POST request
by using the following conventions
“<Salesforce Org
Host Name>/services/Soap/c/<Salesforce API Version>”
In this demo, this Endpoint URL would be
“https://bansalp-dev-ed.my.salesforce.com/services/Soap/c/47.0”
Step-2: Now
we need to prepare the body of the request. Click on “Body”
Step-3: Since
this is going to the be raw input, Click on “raw”
Step-4: As
usual we need to specify the “SessionId” which is the security token
returned as the response to SOAP Login Request. To more about SOAP Login
Request, please refer to my earlier blog: Salesforce SOAP API Authentication:
The Login Request
Step-5: The
next important thing to notice is Most Recent Update (MRU) Header.
Here is the little description of this important parameter:
If MRU Header is set to true, then
this newly created record will be displayed under ”Recently
Viewed” View of the SObject otherwise it won’t’ be
available under Recently Viewed records.
For this demo, we will set this value to true
Step-6: Under
SOAP Enveloper Body, we will be having a Create Tag
Step-7: Under
Create a tag, we will be having sObjects Tag, if you notice we have specified the
name of API Name of the SObject for which we adding a new record using this
SOAP Request Body. In this demo, we are using a Custom SObject “Invoice__c”
Under SObject Tag we need to specify all the tags “ONE FOR EACH
of the Required Fields” in them as per SObject Schema.
These should be in the following format-
<Field-API-Name>Value
of the field based on the respective data type of the
field</Field-API-Name>
For example: We have the first tag for Description,
next is for Customer, and so on.
In the Custom SObject “Invoice__c” we have 3 Required Fields “Description__c”, “Customer__c”,
“Amount__c”, and Create/Update
request will be successful only if specified all the fields as part of the
request body. It holds even if we are updating only one field, we still need to
pass on all the request fields to the request body.
Step-8: Include
the tag for “Description__c” field
and specified its value as required
Step-9: Include
the tag for “Customer_c” field and
specified its value as required
Step-10: Include
the tag for “Amount_c” field and
specified its value as required
With this, the SOAP Request Body is ready to be
posted back to the Salesforce API Endpoint
Step-11: Click on the Send button to submit this POST Request

Analyze Response Object
As long as the POST
Request successful, we would be getting a response object returned. We will
explore the response object in the following section-
Step-12: We can see the current usage of the API Requests as
per the governor limits of the target ORG. This value represents the total
number of API Requests issued already against the target ORG. For demo this, we
can see 57 API Requests are already
been consumed so far
Step-13: We can see the total number of API Requests allowed
as per the governor limits per ORG. For this Developer ORG this limit is 15000.
Step-14: Shows this information related to the Limits is
referring KPIs of type “API REQUESTS”
Step-15: Response object consists of the “createResponse” tag since we send a “create” enveloper in the POST Request
Under “result”
tag, we can see two output parameters are included Id: Unique Id for the record & Status: Status of the last operation performed by API Request
Step-16: <id>: Contains the Record Unique Identifier, this is helpful
in case we would like to track the records added to SObject
Step-17: <success>: Contains the status
of the POST Request. In this case, it is “true”
which shows that the last create operation on the custom SObject “Invoice__c” was a success
Now lets’ go to Salesforce ORG for the eyeball
verification

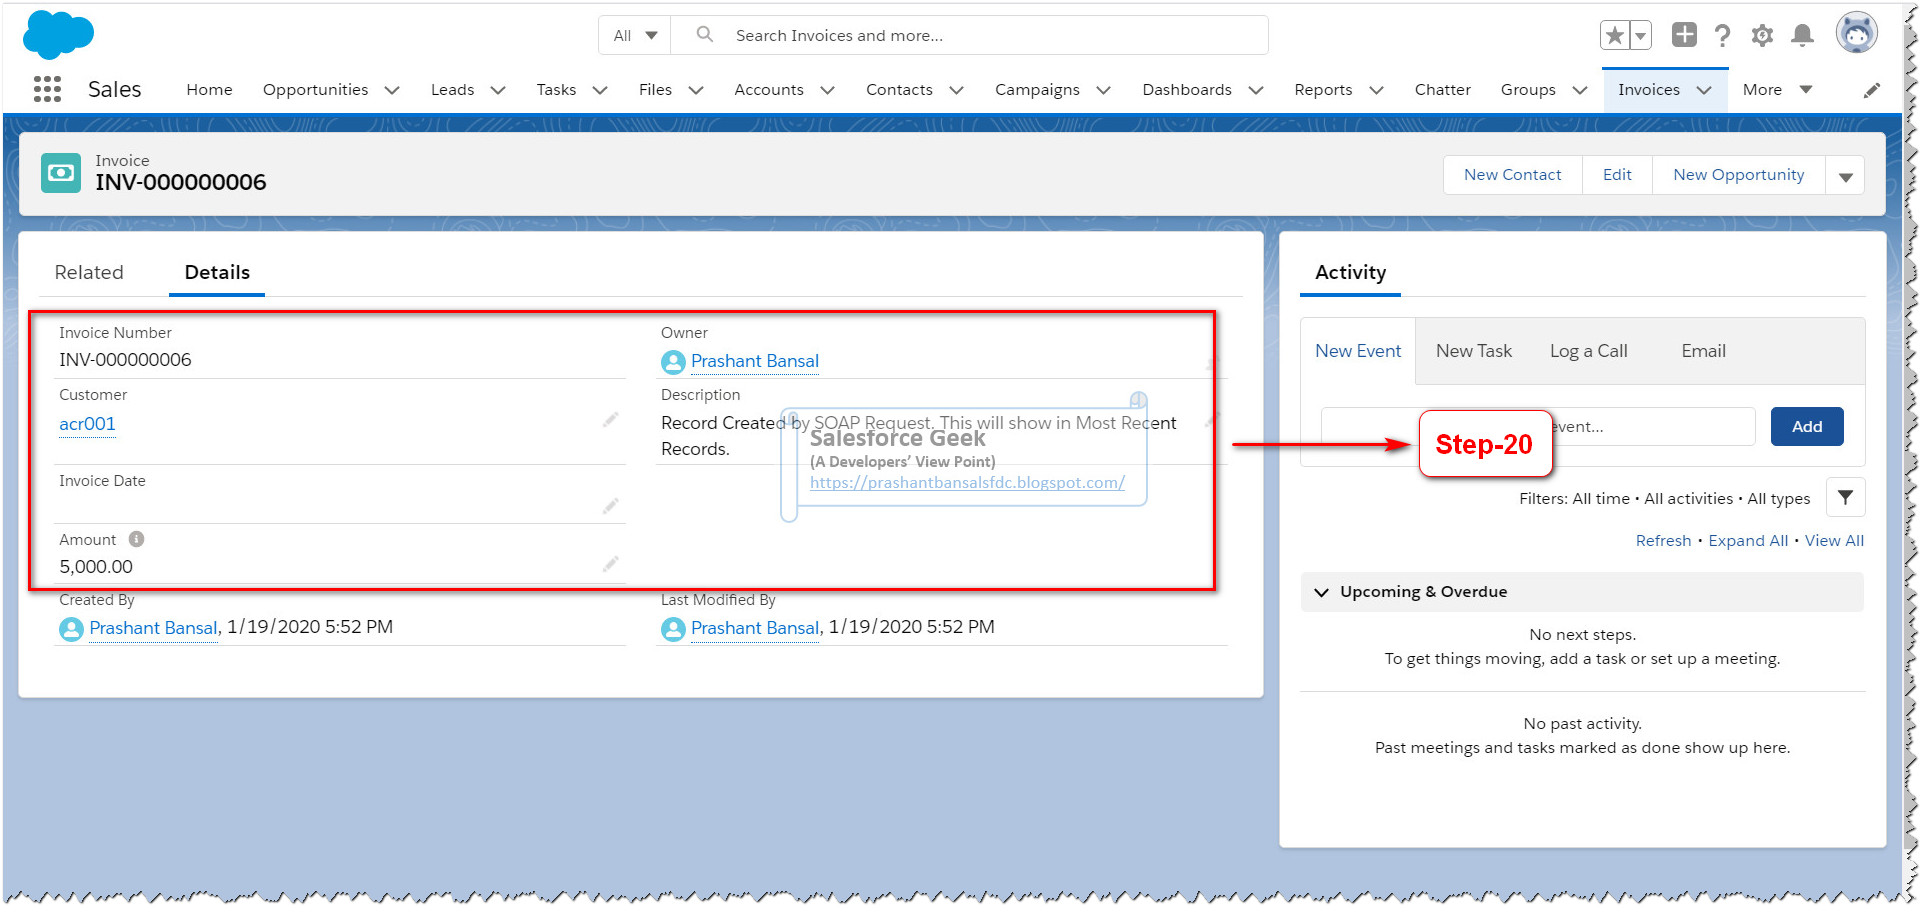
Step-18: We can see the newly added record in the Recently
Viewed list, it happens since we set “MRU
Header = True”
Step-19: We can see the actual record added to the SObject.
Click on the Invoice Number link to view the details

Step-20: We see Description, Customer & Amount values
updated correctly for this record as per the SOAP Request Body
Prepare Request Object: Case-II [MRU = False]
Lets’ create a new request with everything same as
before except “MRU Header” &
Description Field
Step-21: Change the value of “<urn:updateMru>” to “false”
Step-22: I changed the description to something telling us
that this particular record will not be in the “Recently Viewed” view of the SObject
Step-23: Once we have made the changes as required, click on
the “Send” button to submit the
request

Analyze Response Object
Now if investigate the “result” tag again, we can see two output parameters are included
Id: Unique Id for the record & Status: Status of the last operation
performed by API Request
Step-24: <id>
tag contains the Id of the newly created record for reference while <success> tag contains the status
of the POST request and we can see it was a successful operation.

Now lets’ go to Salesforce ORG for the eyeball
verification
Step-25: This time we will not be able to see the newly created record under the “Recently Viewed” list, it happens since we set the “MRU Header = False”

Step-26: Now click on the Views Dropdown and Select “All” View to see all the available
records

Step-27: Under “All”
View we can see another Invoice ”…007”
is added

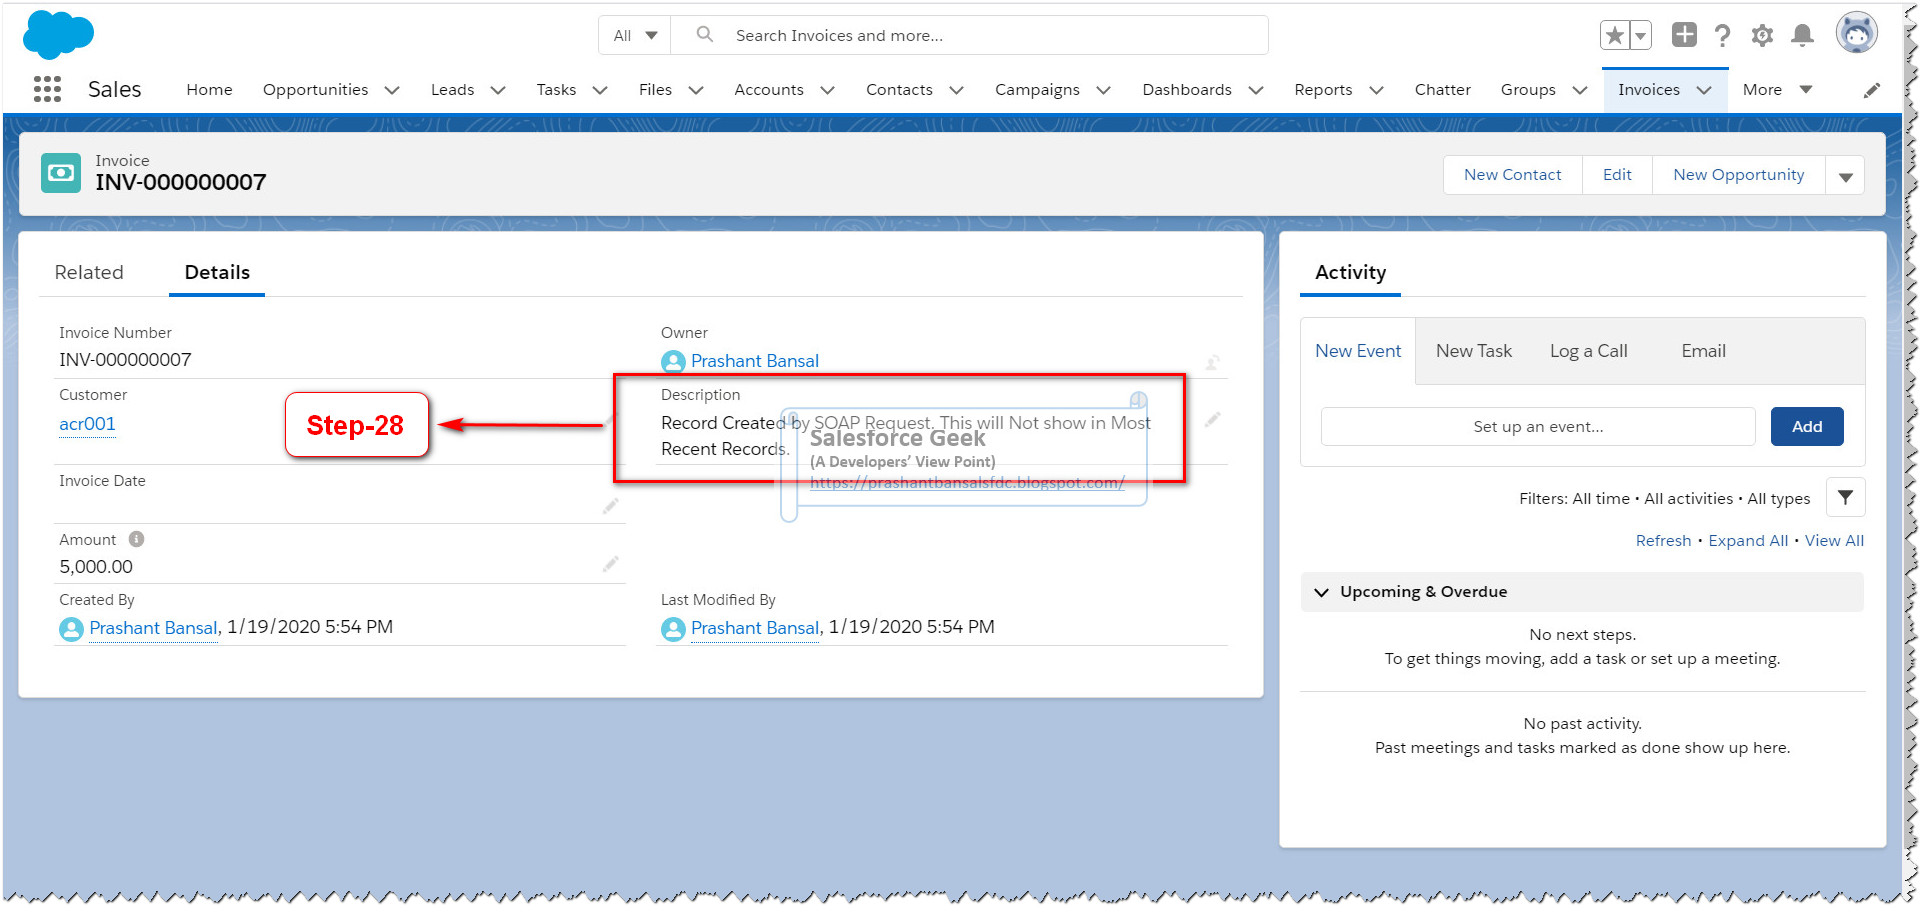
Step-28: Now click on the record link to open the details of
the record, and can see the description as we specified during the API request
Errors & Resolution
As I mentioned earlier, API requests have a major
shortcoming that it doesn’t support ignoring Required Fields while preparing
the Request Envelope.
This means that we must have to supply all required
fields for an SObject along with their respective values and if we fail to
supply even a single required field, it will lead to a fatal error and the POST
request will be returned with an error included in the response Object.
In the following steps, we will try to simulate the
scenario to reproduce the error due to missing Required Field in the Request
Object
Step-1: We can see the schema of “Invoice__c” SObject, it is having a required field “Amount” that must be supplied a value while adding a record to it

Step-2: Let’s prepare a new POST Request. To generate the
error, I have skipped the inclusion of the “Amount”
field. In this request, I have included only Description & Customer Fields.
Submit the request to the Salesforce API Endpoint.

Step-3: Now if we investigate the Response Object, we can
see the <errors> tag is added
to the response Object with an important piece of information
<fields>: It contains the name of the field that caused this
issue
<message>: It contains the error message, explaining the
details of the error occurred with this request.
<statusCode>: It contains the Status Code corresponding to this
operation. This Status code is self-explanatory
<id>: We can see no record Id is returned since this
operation got failed
<success>: We can see a “false”
value returned since this operation was a failure

We can avoid such errors by supplying all the Required Fields of the SObject to the Request Envelope.
Hope you enjoyed this article. Please leave your comments to let me know how you do like the content and how you do find it helpful to learn the topic.
Trailblazer Profile | LinkedIn | Salesforce Blog | Facebook | Youtube Channel | WhatsApp Community
Comments
Post a Comment