Salesforce REST API: How to Expose Apex Classes as REST API Endpoint - GET Operations
Looking for Salesforce Training & HandsOn Projects?
Trailblazer Profile | LinkedIn | Salesforce Blog | Facebook | Youtube Channel | WhatsApp Community
Salesforce allows developers to expose Apex classes and methods so that external applications can access your code and your application through the REST architecture.
Calls to Apex REST classes count against the organization's API governor limits. All standard Apex governor limits apply to Apex REST classes. For example, the maximum request or response size is 6 MB for synchronous Apex or 12 MB for asynchronous Apex. Apex REST supports the following authentication mechanisms:
- OAuth 2.0
- Session ID
In this article, we will look into the detailed implementation of exposing Apex class as REST Web Service offering a GET operation to read data from Salesforce Object(s).
To start with the demo, I have set up some of the data in Accounts Object which we will be using to query as part of the GET request.
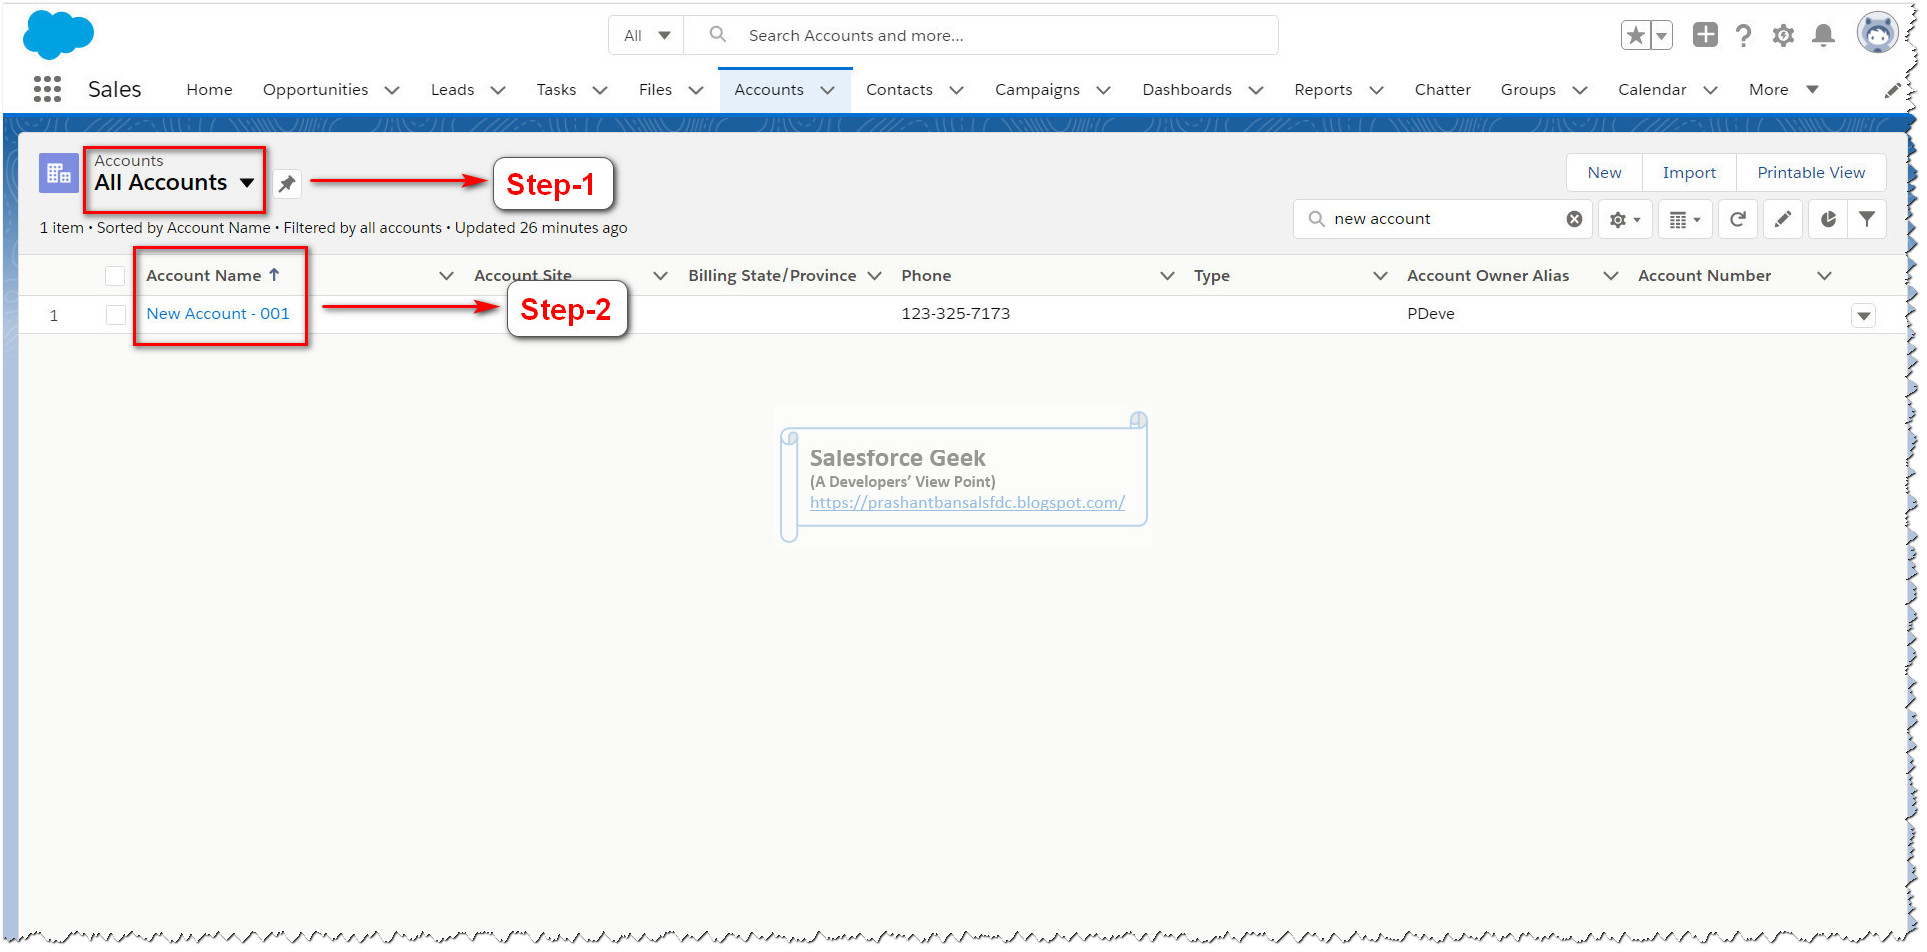
Step-1 & 2: I have added a new record in Accounts Object
Step-3: We can see the details of the record by clicking on it

Step-4 & 5: We have another custom object “Invoices”, where we have added a couple of child Invoice records for the Account

Step-6 & 7: We can see the details for Invoice records by clicking each of them

Step-8: We will add an Apex Class “CustomerServices.cls” that we are going to expose as REST Web Service

Step-9: To expose the apex class as a web service we need to annotate the class it @RestResource annotation at the class level. This URL mapping is always relative to the current salesforce instance, a wildcard can be used, and also it is case sensitive. The web service Endpoint would be
“https://<SF Instance Host Header>/services/apexrest/CustomerServices/”
Step-10: The Apex class must be defined as global to use @RestResource annotation
Step-11: We should annotate an apex function to be either one of the HTTP method protocols (@HttpDelete, @HttpGet, @HttpPatch, @HttpPost, and @HttpPut). This will enable the consumer application to make calls to the respective apex function as a native web service function. In this example, we have an apex function “GetInvoices()” which is annotated using @HttpGet annotation.
A single Apex class annotated with @RestResource can't have multiple methods annotated with the same HTTP request method. For example, the same class can't have two methods annotated with @HttpGet.
We should not have any parameter for @HttpGet or @HttpDelete operations since it is not required to have a request body for these operations.
Step-12: Apex method used with any of the HTTP method annotations should be defined as “global static”
Step-13: RestContext class offers functions that can be used to get a handle on incoming HTTP Request
Step-14: Since we are passing Account ID as part of Request URI, we can retrieve & used it as required
Step-15: We are using that incoming Account Id to search Salesforce Records using SOQL
Step-16 & 18: Based on the data returned by the SOQL, we can build a data collection. This can be done by initiating an entity as shown in the screenshot
Step-17: Finally we will return data collection to the consumer application as HTTP Response

Step-19: To deploy the code to Source Org using VS Code we need to right-click in the class file and select “SFDX: Deploy Source to Org”

Step-20: We can see the deployment completed successfully


With this, we have all the code that we need to make this REST Service functional
To test this web service we can use Postman App as shown-
Step-22: Since we have defined the Apex function with @HttpGet annotation, so we need to choose “GET” as the HTTP Request method
Step-23: We can define the Apex based REST Service Endpoint Url as per the following pattern
https://<SF Instance Host Header>/services/apexrest/CustomerServices/<Account Id>
Step-24, 25, 26: Add “Authorization” Header and specify its value as “Bearer <Security Token Received>”. To know about getting Security Token, you can refer to my earlier article Salesforce REST API Authentication: The Login Request
Step-27: Once all configuration is done we can click the “Send” button to submit the API Request for Salesforce Endpoint

Step-28, 29: If we review the response coming in from REST Service we can see a list of invoices with data structure defined as per the Entity we defined earlier

Step-30: We can also see the Customer (Account) details coming in as part of the web service response. This detail is based on <Account Id> while calling the REST Service

Conclusion
Exposing Apex classes as REST Web Service is a very powerful implementation around Salesforce REST API Framework. We can leverage to implement native Web Service Callouts for external applications supporting integration Use Cases.
1. Calls to Apex REST classes count against the organization's API governor limits.
2. Maximum request or response size is 6 MB for synchronous Apex or 12 MB for asynchronous Apex.
3. Apex REST supports OAuth 2.0, Session ID authentication mechanisms.
Trailblazer Profile | LinkedIn | Salesforce Blog | Facebook | Youtube Channel | WhatsApp Community
Comments
Post a Comment