Salesforce REST API: How to Execute Bulk Insert Operations using Composite Tree Resource
Looking for Salesforce Training & HandsOn Projects?
Trailblazer Profile | LinkedIn | Salesforce Blog | Facebook | Youtube Channel | WhatsApp Community
SObject Tree is
another powerful Composite Resource implementation that can enable you to build
efficient API Requests to Servers which results in an efficient solution and a
happy Customer.
Using this approach
we can create a single API request that holds a set of “POST” executions for up to “5”
different Object Type that’s all in one go. Awesome.
No more multiple to
and fro between Client and Server, just fire and forget.
This approach can
hold “5” different Object Trees (One
for each object type) that can hold up to “200”
records to work upon across all Object trees. Each Object tree can hold nested
records based on Parent-Child relationship and this nesting can go up to a
maximum of “5” levels.
The entire request
counts as a single call toward your API limits. So the arena is open. Run your thought process wisely and use
this power to build lightning-fast applications.
Lets’ start with the
actual demo and see some action-
Prepare Metadata for this Demo
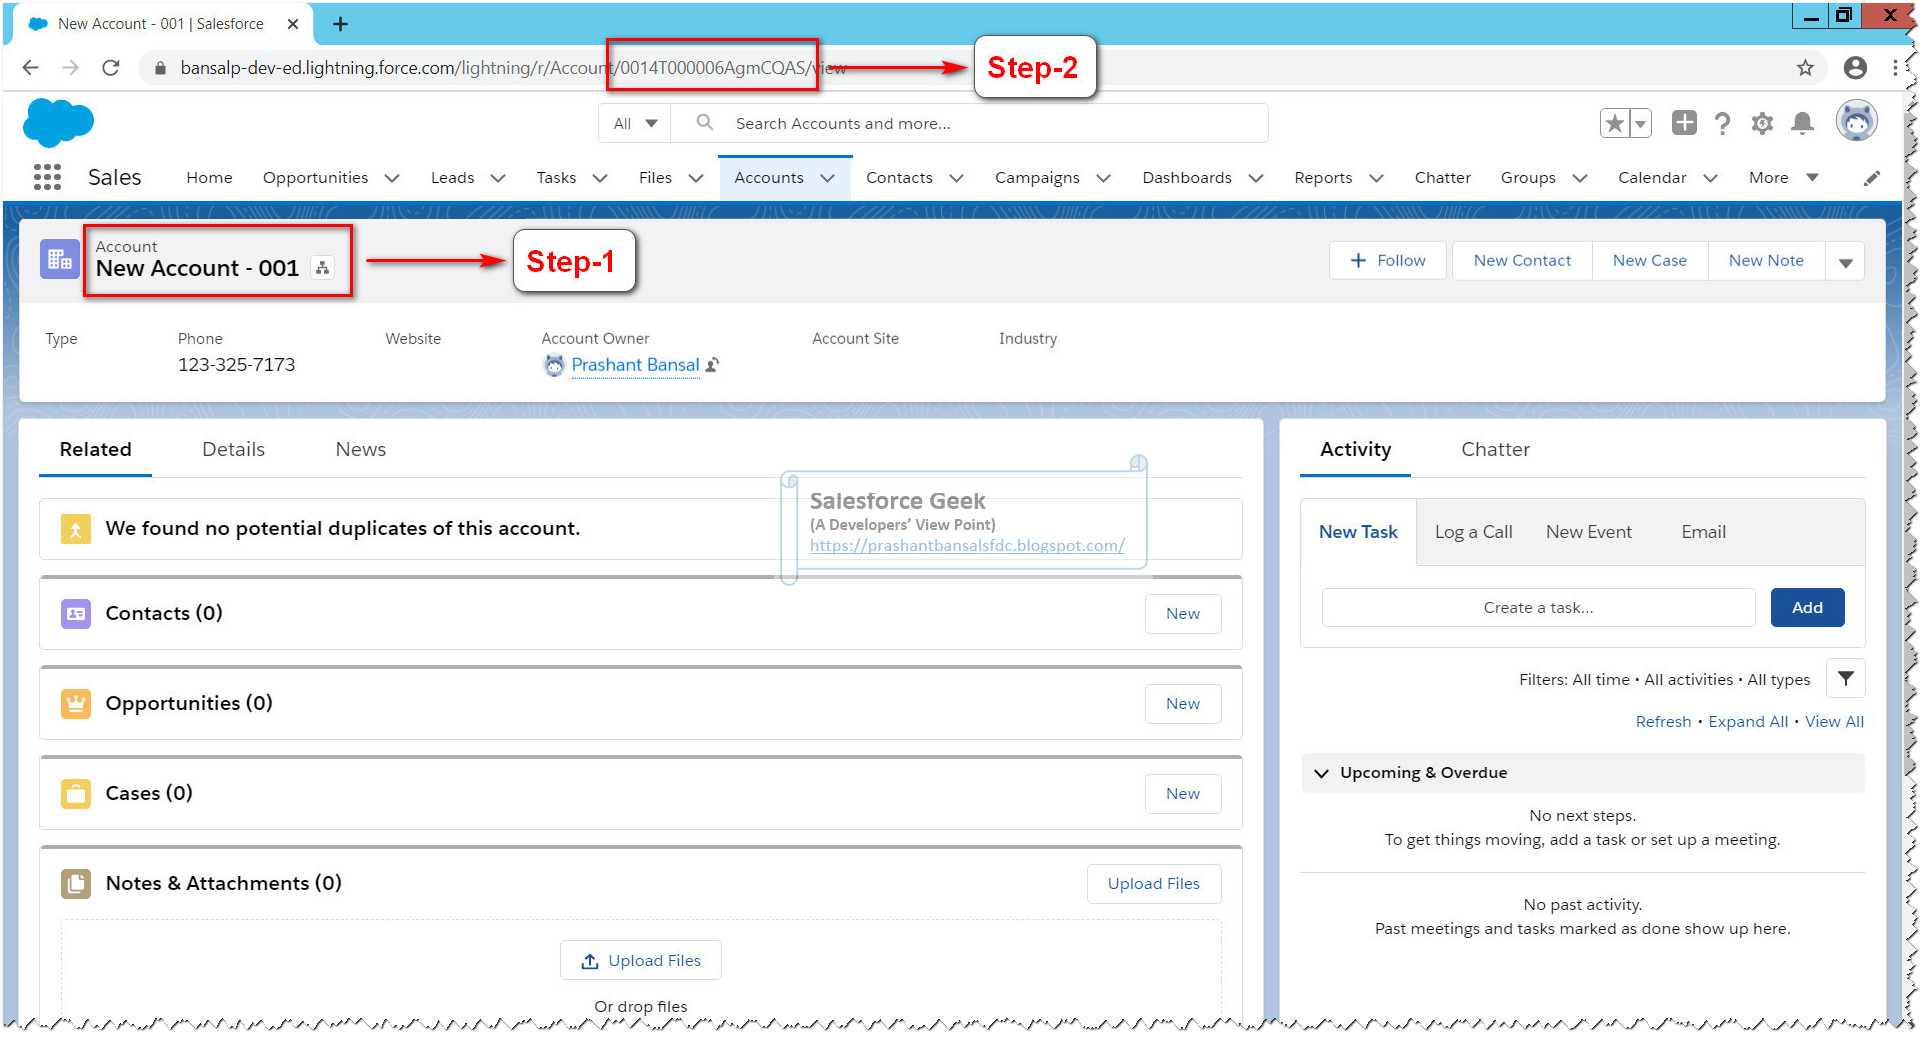
Step-1: We will consider a record of Standard “Account” Object as shown in this step
Step-2: Note the record id for this account record which we will later
during creation of the API Request
Step-3: We have another
Custom Object “Invoice__c”, with
some of the fields “Amount__c,
Customer__c, Description__c” as shown

API Request – (Individual Record Creation)
Step-4: This is going to be a post request so select “POST” as
the type of HTTP request
Step-5: Here we can take note of the format convention used to
prepare the requested URL
<Salesforce
Instance Address>/services/data/v<Apex API
Version>/composite/tree/<SObject API Name>
That will translate
to the following URL that I am using for this demo
https://bansalp-dev-ed.my.salesforce.com/services/data/v47.0/composite/tree/Invoice__c
Step-6: Select “Headers” to add the HTTP Headers to the
request
Step-7: Add the following headers
“Content-Type”:
“application/json”
“Authorization”:
“<Enter authorization Token Here”
You can retrieve the
authorization token that we retrieved from The Login Request

Step-8: Select “Body” to add request body in Json format
Step-9: Select “raw” since
this a raw input (Plain text Json)
Step-10: In the body, we need to add the valid JSON representing
the records to be created. “Tree”
allows us to create records for Individual Types and Nested Types associated
with the root record type
Root Record Type is
represented by “SObject API Name” specified in the request Endpoint “/composite/tree/<SObject
API Name>”
If we refer to the screenshot
below we can see we have specified records to be created for the “Invoice__c” SObject. We have specified the relevant fields “Description__c, Customer__c, Amount__c” that we need to
add to the “Invoice__c” records
Here it is important to notice
the “referenceId” attribute, this is
important to mention a unique value for this attribute. We will get this
reference id back as a part of the response which can help track response with
the corresponding request

API Response Analysis – (Individual Record Creation)
Step-12: “hasErrors” property would tell us if the
request execution at Server was a success or not. If it has a value “false” then Server execution was a
success else there was an error occurred during the execution
Step-13: Here we can see how
“referenceId” is returned to us
along with the “id” which is the
record id of the newly created record. While record Id helps identify the
record uniquely across Salesforce instance, “referenceId” helps trackback to
the request information that created this record

Step-14: We can visit “Invoice__c” list view page to see the
newly created records

Step-15: We can see the
details of any of the record by clicking it, to make sure all fields should
have values as we specified along with the request

Step-16: Keep clicking to
have a sanity check on random records

API Request – (Nested & Child Record Creation)
Earlier API Request
was quite straight forward, simple yet a good example to understand the
implementation of “Tree” resources.
In this request, we
will get into a bit more complex scenario, where we will create Nested Lookup
Records (ex. Create Contacts for an Account) & Child Records (ex. Create
Child Accounts for a Parent Account). Sounds interesting, isn’t it?
Step-17: This step shows the
Json used to create an Account (“type”:
Account) record (don’t forget to take a note of “referenceId”)
Step-18: This step shows the
Json used to create a Contact (“type”:
Contact) record and since this request is inside the Account created in the
previous step, Salesforce interpret this as Contact with Account lookup value
map to the top-level Account Record
In simple words
Contact records with reference Ids “conRef1”
& “conRef2” would have the parent Account record with reference Id “accRef1”

Step-19: This step shows the
creation of another Account record as before, this time the reference id is “accRef4”
Step-20: This step shows the
creation of a new Account record with reference Id “accRef5” which is a Child to the Account record of reference id is
“accRef4” we got it in Step-19
Step-21: This step shows the
creation of a new Contact with reference Id “conRef6” for which the Account lookup is set to the Account record
with reference Id “accRef4”

I am sure in first
go you will find all this very confusing, but trust me it is not. Just spend
some more time with it and you will be a friend to it.
Still, confused?
Read the article again. This time take it slow…
API Response Analysis – (Nested & Child Record Creation)
It
is important to note here that if an error occurs
while creating a record, the entire request fails. In this case, the response
contains only the reference ID of the record that caused the error and the
error information.
Step-22: “hasErrors” property
would tell us if the request execution at Server was a success or not. If it
has a value “false” then Server
execution was a success else there was an error occurred during the execution
Step-23: Response object returns record Id and reference ids of all the records created during the request execution (both from Account & Contact Object)

Step-24: Continuing to
response object we can see more record ids one for each of the records created

Step-25: We can see the
Account records created by visiting list view of Account SObject

Step-26: Click the record
you would like to see the details for as shown below

Step-27: Click the Child
Account Record and in the details section we can see its parent listed the way
we created it

Step-28: Similarly we can
look into Contact List view as well, where we can see all the records created
by this request

Step-29: Click the record to
see its details and we can see how the Account value for the Contact is
associated the way we created it

A Bit of Perspective
Using SObject “Tree”
we can supply record hierarchies, required and optional field values, each
record’s type, and a reference ID for each record as part of the Request body. It
will result in less Server-Client communication and more efficient Business
Solutions and a happy customer.
Hope you enjoyed this article. Please leave your comments to let me know how you do like the content and how you do find it helpful to learn the topic.
Comments
Post a Comment